I have been in love with this wine for awhile, but this summer was the summer of Txakoli. I just couldn’t get enough of it and made it my goal to drink it as often as possible. See my favorites over at SAVEUR.com!
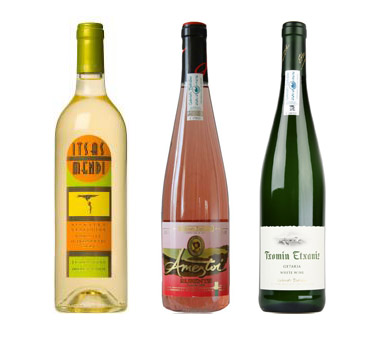

I have been in love with this wine for awhile, but this summer was the summer of Txakoli. I just couldn’t get enough of it and made it my goal to drink it as often as possible. See my favorites over at SAVEUR.com!
Ever since I started working in and around food publishing in New York, I have read about the short sour cherry season and how important it is to keep one’s eyes peeled for them at farmers’ market, their presence more like a mirage in the summer heat than a reality. And so, every year, I dutifully look and buy, bringing them home with absolutely no idea what to do with them.
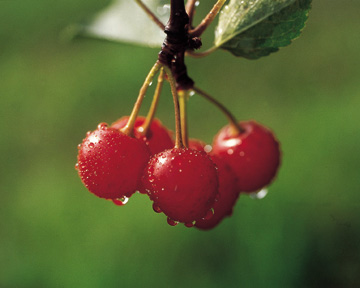
In the past, I’ve experimented with various cakes and compotes, but given this summer’s heat, I decided to try a recipe for sour cherry frozen yogurt. It required minimal time over a stove to heat the cherries once pitted, then chill and churn for a quick and deliciously tangy summer treat. Given that I inherited a bottle of agave syrup at work, something else that I had no idea how to use, I thought this would be an ideal opportunity to try it out. Proportions of agave are slightly less than that of sugar, so when you see the measurements for sugar, multiply by 2/3 for the correct amount of agave. I also added a little Greek yogurt, whose tang I thought would nicely complement that of the cherries, as well as temper the agave, which does have its own distinct flavor profile. It’s easy to tweak the final flavor to your liking before you churn, so make sure you taste along the way!

Sour Cherry Frozen Yogurt
Stem and pit the cherries. Place in a saucepan with the agave and bring to a simmer over medium heat (agave has a lower boiling point than sugar, so keep your eye on it) until the cherries are tender and cooked through. Remove from heat and let cool to room temperature.
Purée the cooled cherries and their liquid until almost smooth (I like to leave a few chunks). In a medium bowl, mix with the yogurt until fully combined, then chill in the refrigerator for at least two hours. Freeze in your ice cream maker according to manufacturer’s directions.
Recipe adapted from David Lebovitz’s The Perfect Scoop.
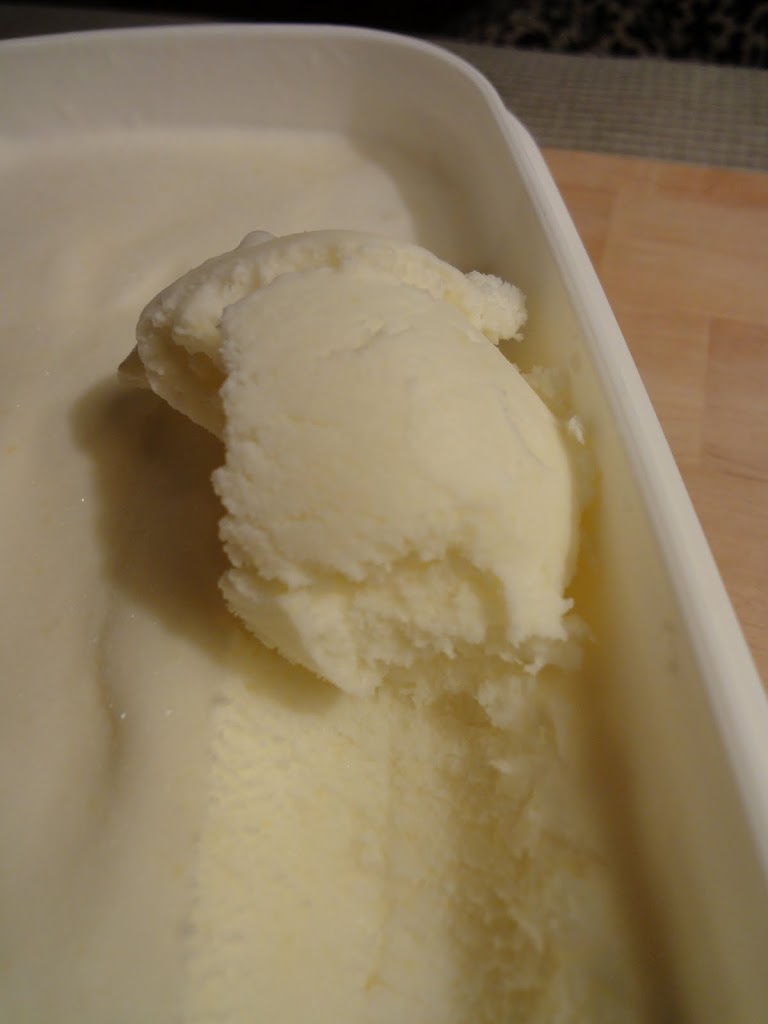
The heat hit, and it hit hard. I crave ice cream all of the time, but when it’s hot, there is truly nothing than alleviates the melting pressure of humidity than delicious, ice-cold creamy goodness. The summer I lived in Rome, I straight up went on a gelato diet for my day-time meals… Nothing else even sounded good. Due to the purchase of a bag of lemons at Whole Foods more than a few weeks ago instead of my usual single lemons when needed, I had all of the inspiration I needed in the fridge. Add to that a no-cook, no-custard base, and I might have found my new best friend for the summer.
Disclaimer: make sure to let your ice cream maker cool sufficiently; if you’re like me and jump the gun, you’ll have to start all over because it won’t freeze.
Lemon Ice Cream
Using a Microplane or other fine-grain rasp zester, zest the lemons directly into the bowl of a blender. Add sugar and blend until zest is fine, then add the lemon juice until sugar is dissolved. Blend in the milk and cream until smooth. Chill for at least one hour, then freeze in the body of your ice cream makers. Place into freezer immediately to allow it to set.
Recipe adapted from David Lebovitz’s The Perfect Scoop.
Winter has really been getting to me, everything from the nasty, dirty snow that lingers on the city streets to the dark, chilly nights that greet me as I leave the office. After revisiting some photos from the summer, I thought it might be the perfect thing to post these photos from a lovely little highlight of my summer that took place last July. They brightened my otherwise gray day.


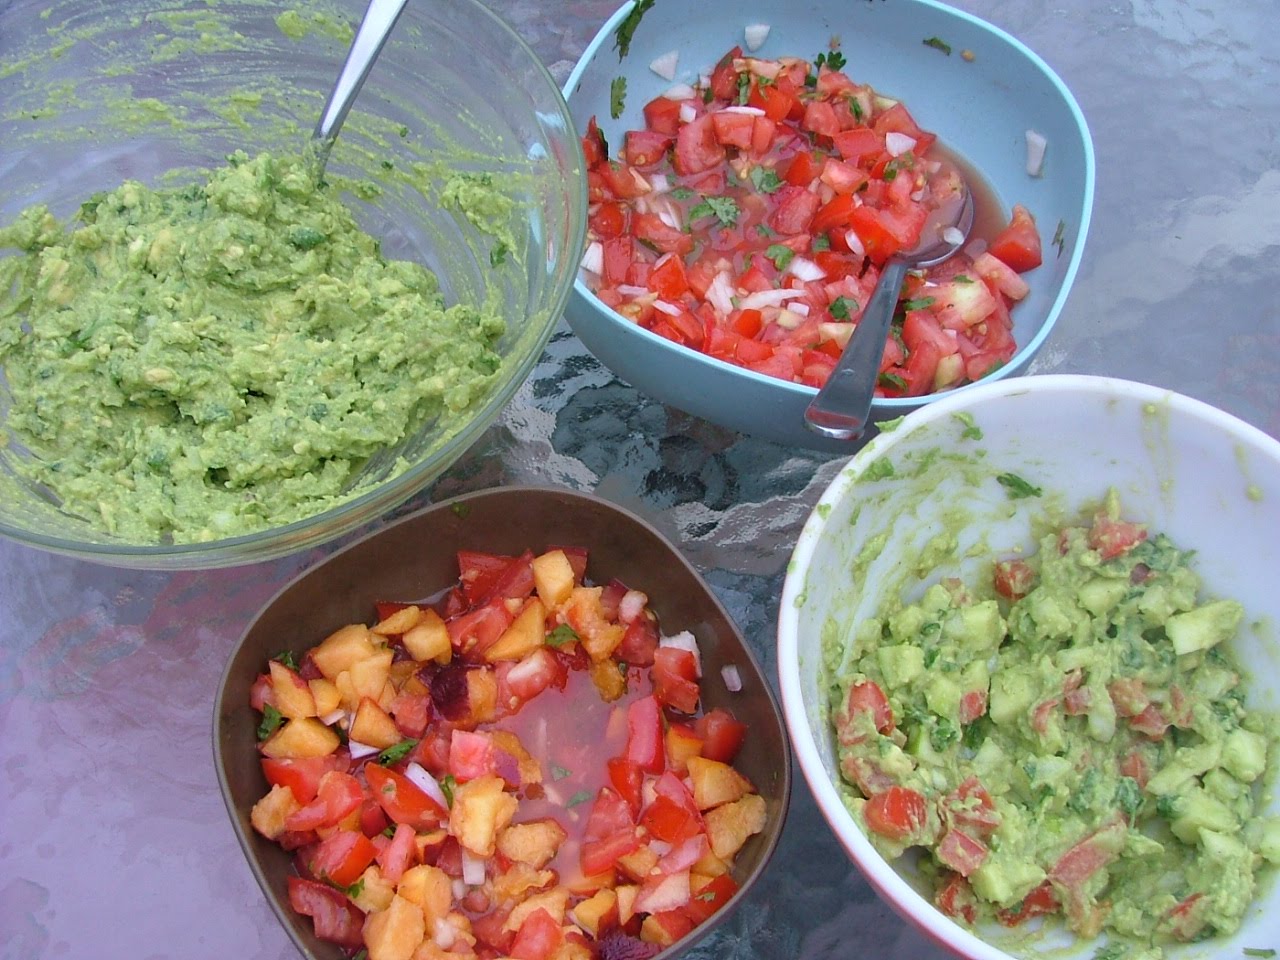
I love fresh salsa, so we got extra tomatoes and limes, then used up the white onion and cilantro left over from the guacamole. For fun, I threw some diced peach into a separate bowl to create a fruit salsa–inspired by, but much better than, the jar of mango salsa I saw at the grocery store.

Delicious fettucine with a rich, corn and basil “pesto” was a major hit at the table. From the August 2010 issue of Bon Appétit magazine.

Skewers of delicious, fresh, grilled vegetables.

Grilled pineapple: the perfect summertime sweet to complement pork chops, or delicious on their own. And those grill marks so remind me of summertime.

I think I have mentioned this before, but I could live on ice cream alone. And ever since I was a little kid, I have wanted to make my own, so last summer I invested in an ice cream maker. Best. Decision. Ever.
There is a serious element of patience and forethought involved in making ice cream. I have to know that I will want it a day before I can eat it, which is both a good and bad thing. It is certainly an exercise in restraint – at lease until its time to reap the rewards. Then, it’s no holds barred.
I’ve enjoyed following many recipes that have led me to some amazing flavor combinations – from Greek frozen yogurt to salted caramel – but I am getting ever more confident in my ability to forge my own personal creations. Inspired by the same August 2009 Gourmet issue, I decided I wanted to try to make my own version of a chocolate hazelnut ice cream.
Ingredients:
equipment: ice cream maker!
Toast hazelnuts and let them cool. Once you can handle them without roasting your fingertips, rub off the skins as much as possible and place into a food processor. Pulse hazelnuts with 3/4 c sugar and salt until finely ground. Transfer to a heavy medium saucepan with 1 c skim milk and 1 1/2 c heavy cream and bring just to a boil, stirring occasionally. Remove from heat and let steep, covered, 20 minutes or more, depending on how deep you want the hazelnut flavor to be. Strain mixture through a fine-mesh sieve into a bowl, then return to cleaned saucepan.
Return to saucepan, then boil over medium heat 2 minutes, whisking often (mixture will be thick). Remove from heat and add chocolate, stirring until melted and incorporated.
Meanwhile, bring remaining milk, cream, and remaining 1/4 cup sugar just to a boil in a small heavy saucepan, stirring occasionally. Lightly whisk eggs in a medium bowl, then add half of hot milk mixture in a slow stream, whisking constantly. Pour back into saucepan and cook over medium heat, stirring constantly with a wooden spoon, until custard almost coats back of spoon. Do not let it boil, or your eggs will cook through.
Pour custard through a fine-mesh sieve into a large bowl, then stir in cooled chocolate-hazelnut mixture. Chill custard, stirring occasionally, until very cold, 3 to 6 hours. Freeze custard in ice cream maker for 20 minutes. Make sure to scrape any of the hardened chocolate into the machine, as it will form little chocolate chip nugglets as the cream is churned. Transfer to an airtight container and put in freezer to firm up.
Then, DIG IN!
Adapted from the August 2009 Gourmet recipes for Salted Caramel Ice Cream and Gianduia Gelato